01
Inspect Walls And Ceiling
Find unfinished drywall, damaged corners, stains, masonry, gaps, and areas blocked by shelves or equipment.
Plan the walls, ceiling, trim, floor, cabinets, and lighting as one room so the finished garage looks intentional and stays practical.
Garage walls are rarely in the same condition as a finished room inside the house. They may have unfinished drywall, patched fasteners, concrete or masonry sections, old stains, dust, and years of scuffs around storage and parking areas.
The first decision is not the color. It is what each surface needs before coating. Drywall repairs need to be smooth and sealed. Bare masonry needs a coating made for the substrate. Water staining or active moisture needs to be understood before it is covered.
My Ultimate Garage helps Austin-area homeowners coordinate those finish decisions with the rest of the garage plan.
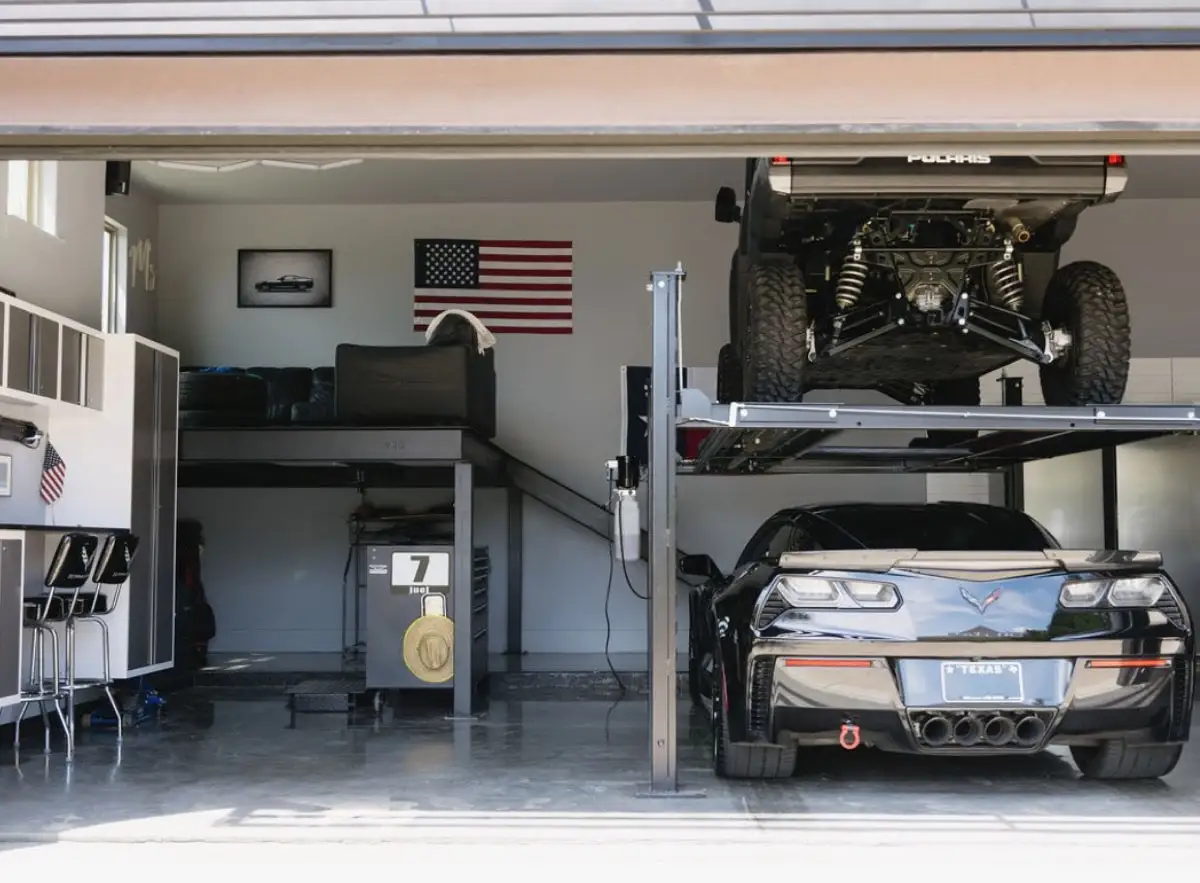
Paint affects light, cleanup, and how every fixed element reads once the project is complete.
Find unfinished drywall, damaged corners, stains, masonry, gaps, and areas blocked by shelves or equipment.
Complete electrical changes, wall repair, and ceiling work before cabinets, slatwall, and overhead storage limit access.
Lighter wall and ceiling colors can help available light reach work zones, while cabinet and floor colors establish the contrast.
Select primer, coating, and sheen for the actual drywall, trim, masonry, or previously painted surface instead of using one product everywhere.
Painting after cabinets and wall storage are installed leaves narrow edges, hidden unfinished areas, and more masking. Painting before the layout is settled can be just as wasteful if new electrical work, wall repair, or mounting points cut into the finish.
A cleaner sequence is to settle the layout, complete repairs and electrical changes, finish the ceiling and walls, prepare and coat the floor, then install cabinets and storage. The exact order can change with the scope, but each fixed choice should make the next one easier.
Garages collect dust, tire marks, fingerprints, and tool scuffs. The finish needs to tolerate normal cleaning without making every wall defect more obvious. Color also changes how bright the room feels, especially in garages with limited daylight or a single overhead fixture.
Bring cabinet samples, floor colors, and lighting plans into the same conversation. A finish that looks right on a small sample can read differently next to a large coated floor or under cooler shop lighting.
Photos of each wall, the ceiling, the electrical panel, existing lights, water staining, unfinished drywall, and any storage that will remain help define the work. Include the garage dimensions and note whether vehicles need to stay inside during the project.
Start with the surfaces you have and the way the room needs to work.